Article
Creating an S3 Snapshot Exposure Source
An S3 snapshot exposure source lets you upload exposure data in batch by delivering gzip-compressed CSV files to an MX8 Labs-managed S3 bucket. This is the right choice when you collect exposure data in your own systems and want to send it server-side — especially if you need to hash IP addresses before they leave your environment.
Before you begin
You'll need the following information ready:
- A source name for this exposure source.
- A retention period (in days) for how long records should be kept.
- Your Hash Salt (if you're salting hashed IPs).
- The column names in your CSV files that correspond to MX8 Labs' required fields.
- Your IAM Role ARN if you want MX8 Labs to grant your AWS role upload permissions (this maps to the External ARN field).
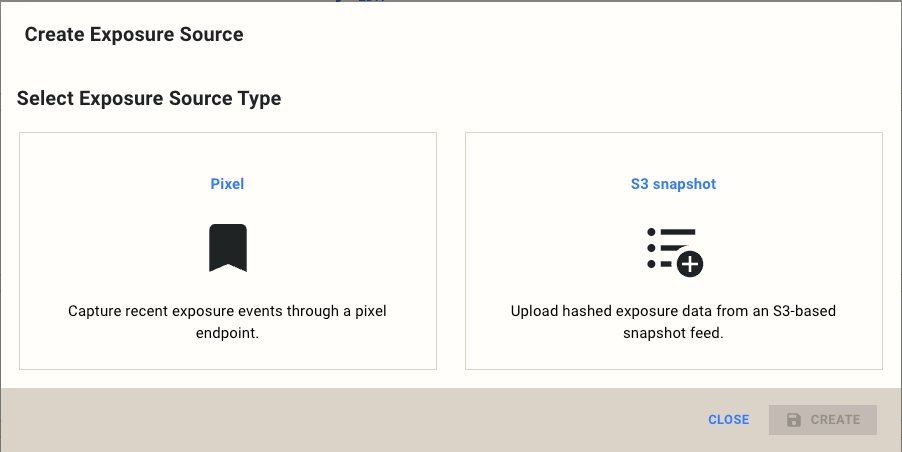
Step 1 — Open the creation dialog
Navigate to your exposure sources and click Create Exposure Source. Select the ** S3 snapshot** card.
Step 2 — Configure basic settings
Fill in the top-level fields:
- Source Name — A descriptive label for this source. This cannot be changed after creation.
- Retention Days — How long MX8 Labs retains exposure records for matching. Defaults to 7 days but can be set longer if your campaign requires it.
- Enabled — On by default. Toggle off to configure without activating.
Step 3 — Add dimensions
Dimensions work the same way as they do for pixel sources — they're additional attributes attached to each exposure record, used as aggregation buckets. Type a dimension name into the Add Dimension ** field and press Enter or click+ Add Dimension**.
Step 4 — Configure field mappings
This is where you tell MX8 Labs how your CSV columns map to the fields it needs. Your column names don't need to match MX8 Labs' — you just need to specify which of your columns corresponds to each field.
Required fields:
- Hash Salt — The salt value used when hashing IP addresses. If you don't use a salt, leave this empty.
- UID Field Mapping — The column name in your CSV that contains the user identifier (e.g.,
user_id).
Optional fields:
- Exposed IP Field Mapping — The column containing plaintext IP addresses. Provide this or Hashed IP Field Mapping.
- Hashed IP Field Mapping — The column containing hashed IP addresses. Provide this or Exposed IP Field Mapping.
- Brand Field Mapping — The column containing the brand name associated with each exposure.
- External ARN — Your IAM Role ARN. MX8 Labs uses this to grant your AWS role permission to upload files into your dedicated S3 prefix.
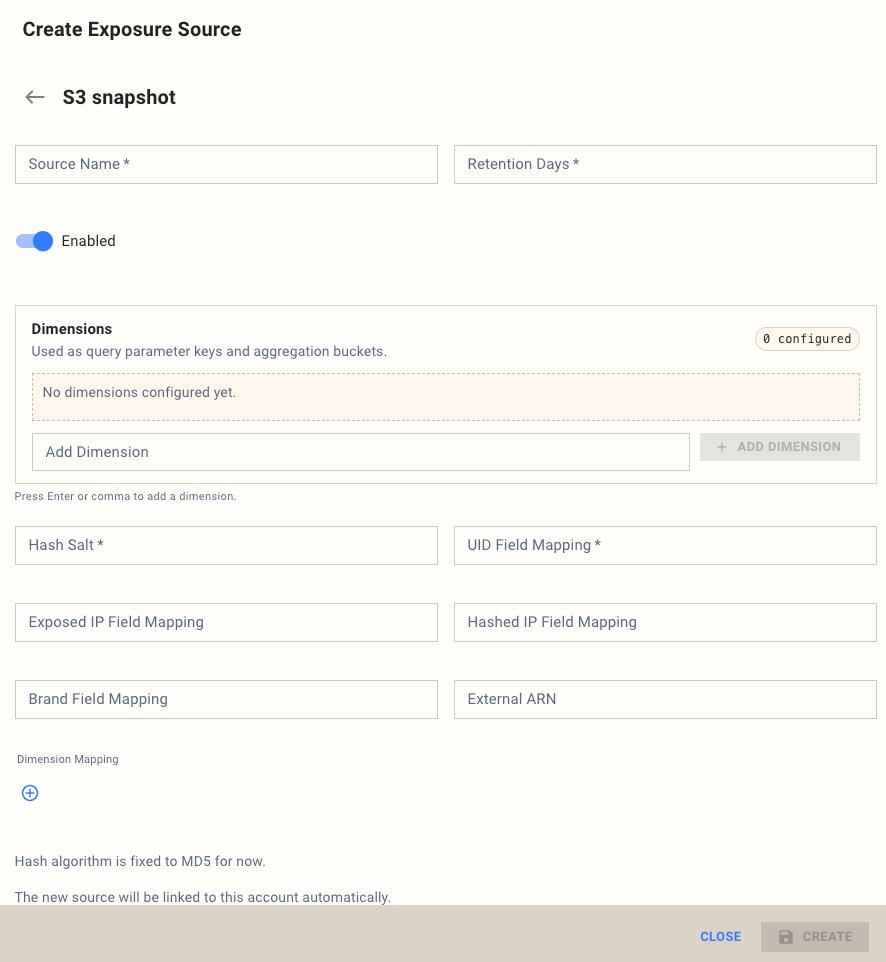
Step 5 — Configure dimension mappings
If you added dimensions in Step 3, scroll to the Dimension Mapping ** section and click the+** button to map each dimension to the corresponding column in your CSV.
Step 6 — Create the source
Click Create to save. The source is now ready to receive files.
Note: The hash algorithm is currently fixed to MD5. Other algorithms are available on request — contact your MX8 Labs account team if you need a different algorithm.
What's next
- Server-Side File Delivery & Format Requirements — details on file format, naming, and upload process.
- IP Hashing Rules for Exposure Data — input formatting, salt handling, and output format guidance.