Article
Setting up an interactive Twilio text respondent source
Interactive text surveys run surveys over text message in a back-and-forth between the user and the interview:
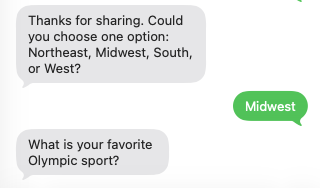
Use Twilio Text to upload phone contacts and send survey questions over SMS.
Before you start
- Advanced audiences must be enabled in your account.
- You need a Twilio Account SID, Auth Token, and either:a Twilio phone number, or
- a Twilio Messaging Service SID.
Your contact numbers must be in E.164 format (example: +15551234567).
Step 1: Create a new Twilio Text source
Go to Sources and create a source with type Twilio Text.
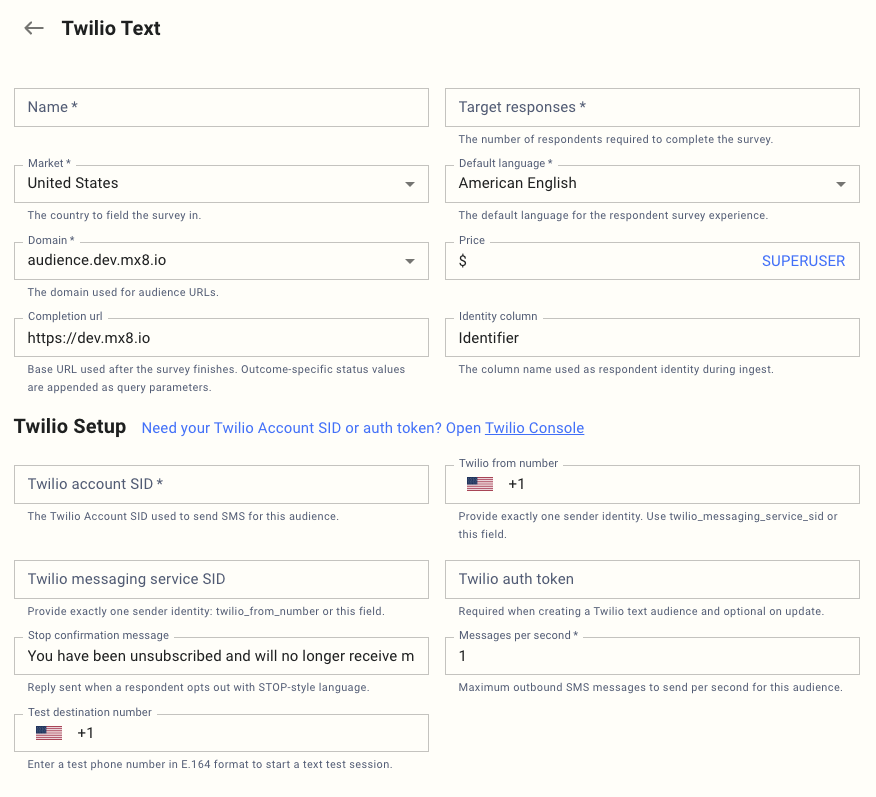
Fill these Twilio-specific fields together with the selected base fields:
| Field (UX label) | What to enter | Required |
|---|---|---|
| Twilio account SID | Your Twilio Account SID used to send SMS | Yes |
| Twilio from number | SMS-enabled Twilio number in E.164 | Exactly one of this or Messaging Service SID |
| Twilio messaging service SID | Twilio Messaging Service SID | Exactly one of this or From number |
| Twilio auth token | Twilio Auth Token | Required on create, optional on update |
| Stop confirmation message | Auto-reply sent after STOP/unsubscribe | Optional |
| Messages per second | Outbound SMS rate limit for this source | Yes (min 1) |
| Completion url | Redirect base URL after survey completion | Optional |
| Identity column | Contact file identity column name (default: Identifier) | Optional |
Step 3: Configure Twilio webhook
- In the source, copy the **Inbound webhook URL ** from the Twilio setup panel.
- In Twilio Console, paste that URL as your inbound webhook for the sender (number or messaging service).
- Save changes in Twilio.
Step 4: Upload contacts
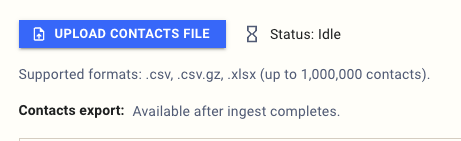
- Use Upload contacts file.
- Supported file types:
.csv,.csv.gz,.xlsx. - Include the configured Identity column (default
Identifier) and populate it with E.164 phone numbers.
Step 5: Send a safe test
-
Enter a value in Test destination number (E.164).
-
Save/update the source.
-
Confirm the test number is not already in your real contact list.
Step 6: Go live
-
Use the Status action Go Live.
-
Use Pause, ** Restart**, or ** Complete** as needed during fielding.