Article
Setting up a Twilio Voice respondent source
Voice surveys let you run surveys over a phone call, using AI to create a natural, conversational experience that feels like the respondent is talking to a real person. The platform reads questions aloud, listens to spoken answers, and maps responses back to your survey structure. All of this happens automatically.
Voice survey quality is viable today and will only continue to improve as real-time voice LLM models advance.
Before you start
- Advanced respondent sources must be enabled in your account.
- You need a Twilio Account SID, Auth Token, and a Twilio phone number.
- Your contact numbers must be in E.164 format (example:
+15551234567).
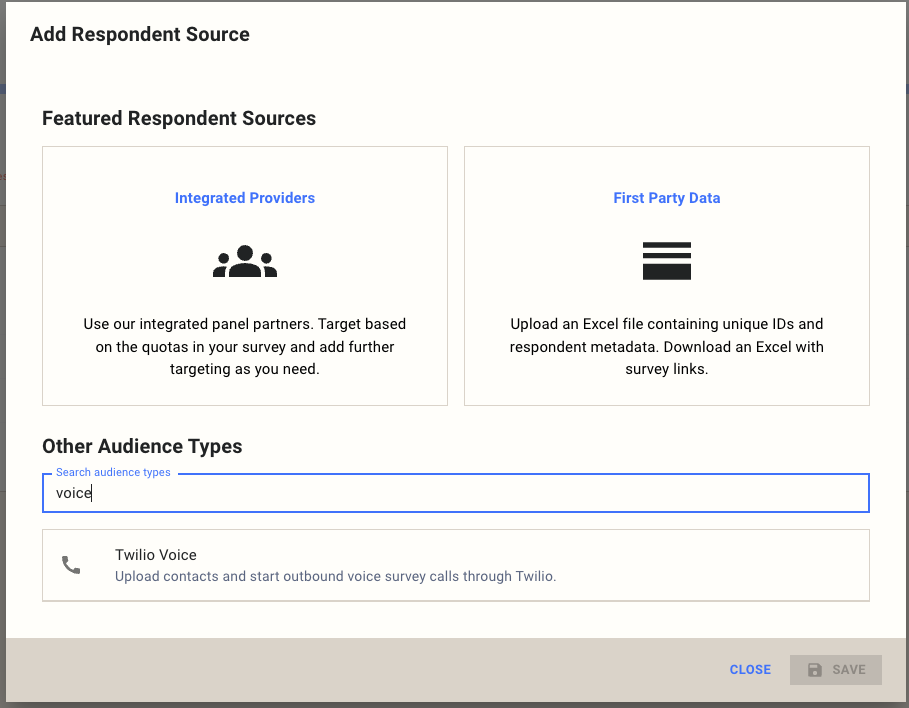
Step 1: Create a new Twilio Voice source
Go to Sources, click Add Respondent Source, and search for "voice" in the audience type search box. Select Twilio Voice.
Fill in the Twilio-specific fields along with the selected base fields:
| Field (UX label) | What to enter | Required |
|---|---|---|
| Name | A descriptive name for this source | Yes |
| Target completes | Number of completions required | Yes |
| Days in field | How long to keep the source active | Yes |
| Country | The country your respondents are in | Yes |
| Audience dev email | Email for notifications about this source | Optional |
| Completion url | Redirect base URL after survey completion | Optional |
| Preferred language | The default language for the respondent survey experience | Yes |
| Voice | The AI voice used during the phone call (e.g. alloy, echo, fable, shimmer) | Yes |
| Identity column | Contact file identity column name (default: Identifier) | Optional |
| Twilio account SID | Your Twilio Account SID | Yes |
| Twilio auth token | Your Twilio Auth Token | Required on create, optional on update |
| Twilio pull token | Twilio Pull Token | Optional |
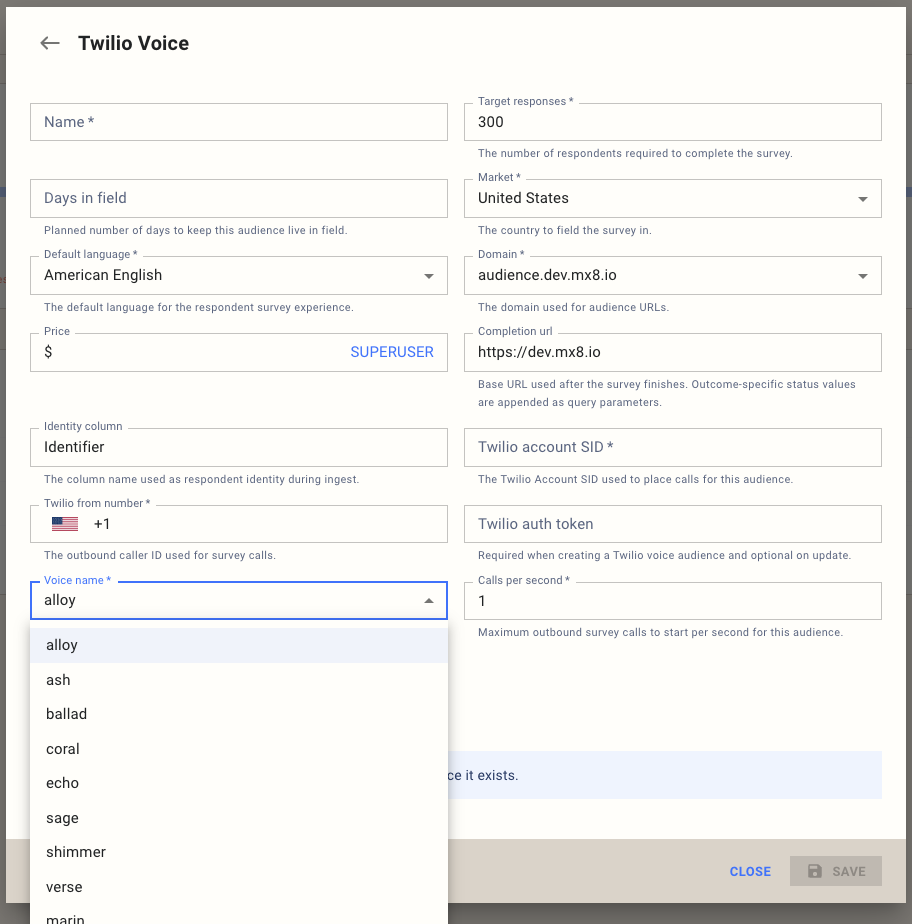
The Voice dropdown lets you choose from several AI voices. Pick the one that best fits the tone and audience of your survey.
Step 2: Design your survey
All question types are supported for voice surveys. However, media-based content such as images, videos, and display text will not be presented to respondents since the survey is conducted entirely over audio.
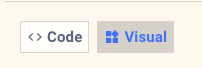
The visual survey editor works the same way it does for any other respondent source. You can switch between the Code and Visual views using the toggle at the top of the editor.
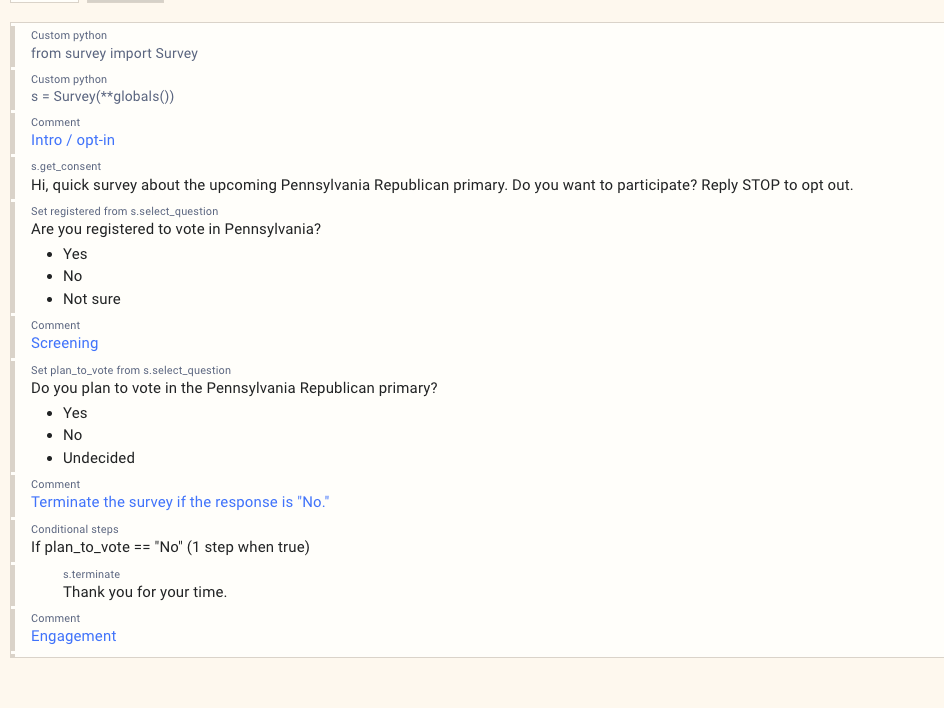
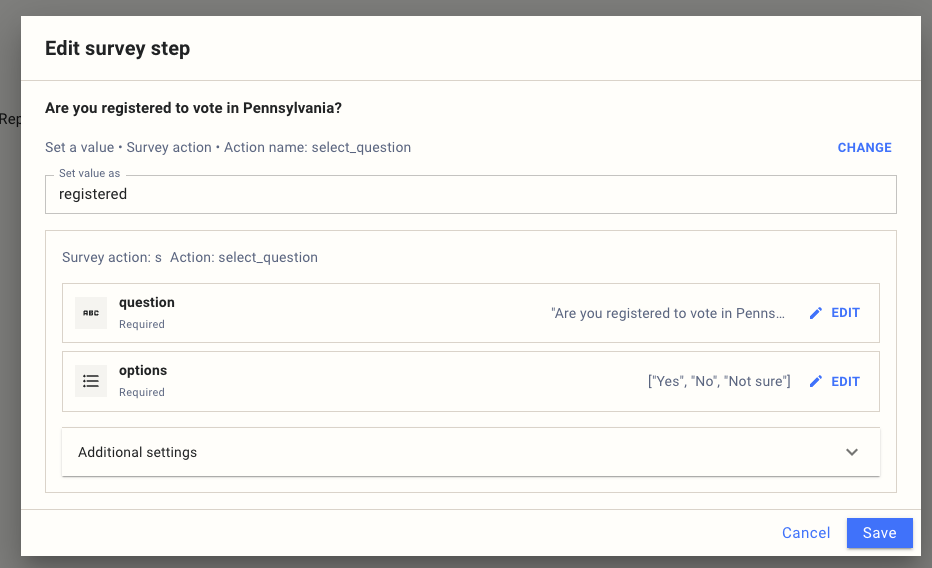
Each survey step can be edited by clicking on it. Question text, options, and logic all work the same as other source types.
Step 3: Configure Twilio webhook
- In the source, copy the Inbound webhook URL from the Twilio setup panel.
- In Twilio Console, paste that URL as your inbound webhook for the phone number.
- Save changes in Twilio.
Step 4: Upload contacts
- Use Upload contacts file.
- Supported file types:
.csv,.csv.gz,.xlsx. - Include the configured Identity column (default
Identifier) and populate it with E.164 phone numbers.
Step 5: Test your survey
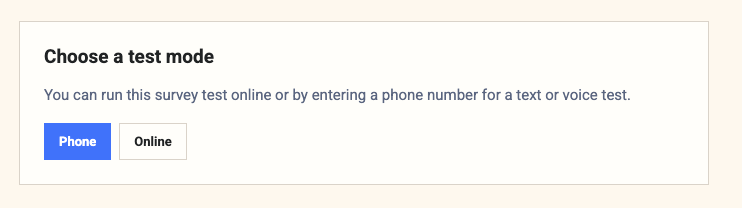
Test survey links offer the option to test in Phone or Online mode.
In Phone mode, select a phone channel and enter your phone number in E.164 international format (e.g. +15551234567). The platform will call you and run through the survey as a respondent would experience it.
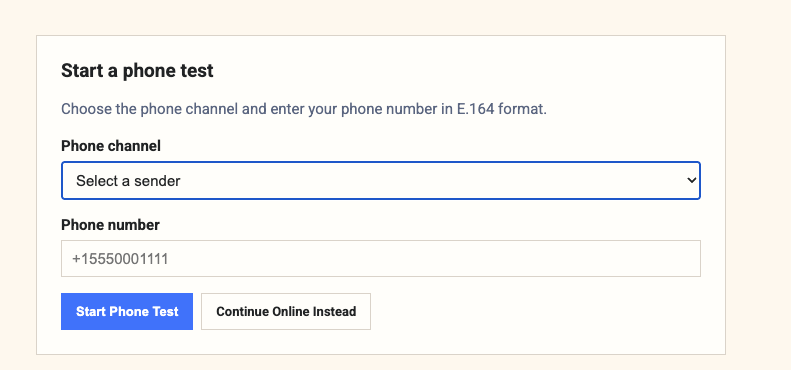
In Online mode, you can preview the survey flow in your browser, which is useful for quickly checking question wording and logic without making a call.
Step 6: Go live
- Use the Status action Go Live.
- Use Pause, Restart, or Complete as needed during fielding.
Reporting
Reporting for voice surveys works exactly the same as for any other respondent source. All standard reports, crosstabs, and data exports are available with no additional configuration.